
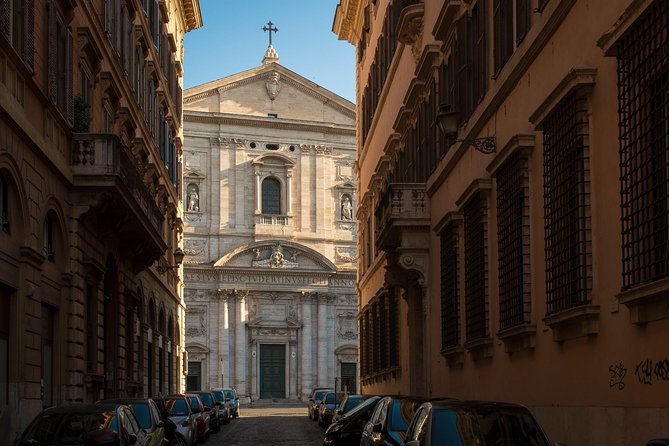
Reviewed · ROME PHOTOSHOOT SESSIONS
Rome Photography Masterclass – Private Photography Lesson
Rome teaches your camera new tricks. This private Rome Photography Masterclass is a 3-hour lesson built around real locations, from Colosseum views to Trevi Fountain angles, with a photography professional coaching you as you walk. You get to choose day or night, so the experience can match your style instead of forcing one lighting plan.
What I like most is the undivided attention that comes with a private setup. In plain terms, your guide can watch your framing and then fix it on the spot, whether you are brand-new or you already know your way around your controls. The second big win is that you also stop for the big icons, but you are taught how to photograph them, not just how to stand near them.
One consideration: you need to bring your own camera, and a tripod is only available if you request one. Also, the stops are mostly pass-by photo moments, so if you are hoping for lots of time inside ticketed sights, this is not that kind of outing.
In This Review
- Key highlights that make this masterclass worth it
- A 3-hour private lesson that actually changes your photos
- Meeting at Fontana del Colosseo, then shooting your way across Rome
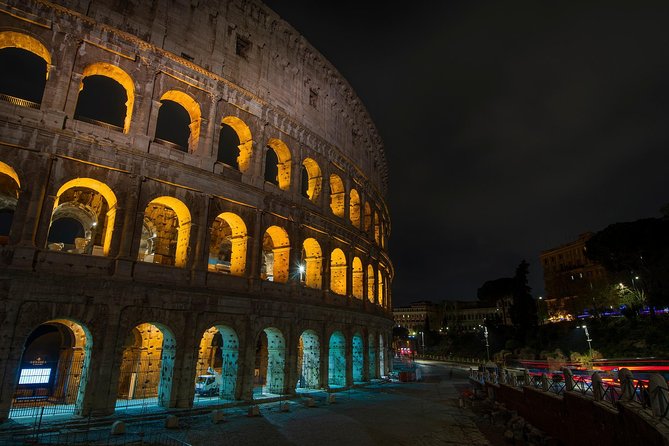
- Colosseum photo stops: how to frame the icon without getting stuck
- Pantheon and Roman Forum pass-by shots where timing beats effort
- Trevi Fountain and Piazza Navona: classic scenes with better angles
- Castel Sant’Angelo at the end: finishing strong with a new perspective
- The real magic: photography coaching you can use on day one
- What to bring: camera, tripod requests, and how to stay flexible
- Pricing and value: is $181.02 per person reasonable?
- Who should book this Rome photography masterclass
- Should you book this private Rome Photography Masterclass?
- FAQ
- How long is the Rome Photography Masterclass?
- Is this experience private?
- Do I need to bring my own camera?
- Is there an admission ticket for the main photo stops?
- Can I choose day or night?
- Is a tripod provided?
- Where does the tour start and end?
- What is the cancellation policy?
Key highlights that make this masterclass worth it
- Day or night options so you can shoot the mood you want
- Private coaching geared to your skill level and photo interests
- Iconic Rome locations plus angles aimed at less obvious results
- Quick pass-by photo stops that fit a tight 3-hour format
- Free admission for the photo moments at major sights, since you are photographing from the outside
- Tripod on request if you need stability for low light
A 3-hour private lesson that actually changes your photos
If your Rome plan includes photos, this format is smart: short, focused, and hands-on. Over about three hours, you walk between major landmarks and get real-time guidance on how to see, frame, and adjust settings.
The day-versus-night choice matters more than it sounds. Day shooting usually rewards clarity and shape, while night shooting pushes you to think about light, contrast, and steadier technique. If you love dramatic scenes, night can be a great match. If you want easier handling and faster learning, day tends to feel less stressful.
Also, private means you are not competing for attention. Your guide can correct small habits, like where your horizon sits, how you use leading lines on buildings, or how to keep architectural details from looking distorted. That is the difference between taking pictures and building better ones.
More Private Tours in Rome
- Rome by Golf Cart Private Tour: Beyond the Landmarks
★ 5.0 · 4,361 reviews - Early Morning Vatican, Sistine, St. Peter’s Semi or Private Tour
★ 5.0 · 3,779 reviews - Rome on a Golf Cart Semi-Private Tour Max 6 with Private Option
★ 5.0 · 2,502 reviews - Rome Private Arrival Transfer: Fiumicino Airport to Hotel in Rome
★ 4.5 · 2,492 reviews
Meeting at Fontana del Colosseo, then shooting your way across Rome
You start at Fontana del Colosseo, 00184 Roma RM, and you end back at the same meeting point. That back-to-your-basis approach is practical, especially if you are squeezing this into a busy day.
The start location is useful for another reason: it sits in the general orbit of several famous sights. So you do not spend all your limited time on logistics. The route is designed to keep you moving through big photo targets while still giving you short, productive stops.
The tour is offered in English, and most travelers can participate. If you have a basic comfort level walking in the city, you should be fine, since the experience is built around a walking lesson rather than long transfers.
Colosseum photo stops: how to frame the icon without getting stuck
The first stop is the Colosseum area. You may pass by and photograph it for about 30 minutes, and the admission ticket noted for this stop is free.
This is a good setup for learning, because you can focus on composition while the crowd energy does its own thing in the background. Instead of rushing in and out, you get time to practice the most important beginner skill: choosing one viewpoint and then refining it.
Ask yourself what you want from the Colosseum shot. Do you want a wide view that shows scale, a tighter frame that emphasizes arches and texture, or a perspective shot that pulls lines toward the center? A good photo plan will help you avoid the most common Rome mistake, which is taking five almost-identical pictures and then hoping one turns out.
If your session includes guidance for your camera settings, this is where you can try small changes right away. You might test exposure for bright stone in daylight, or you might work on steadier technique if you are shooting after dark.
Pantheon and Roman Forum pass-by shots where timing beats effort
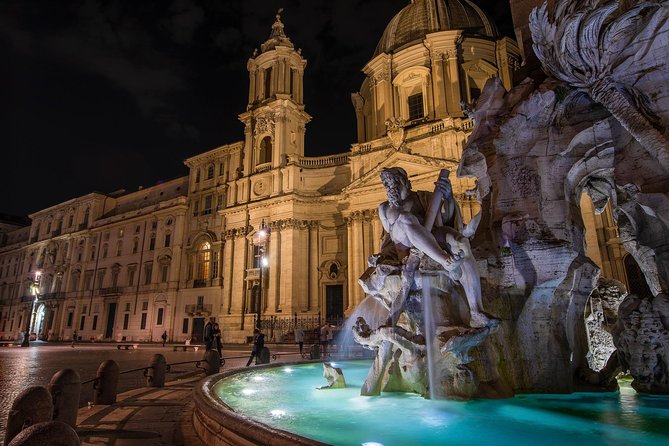
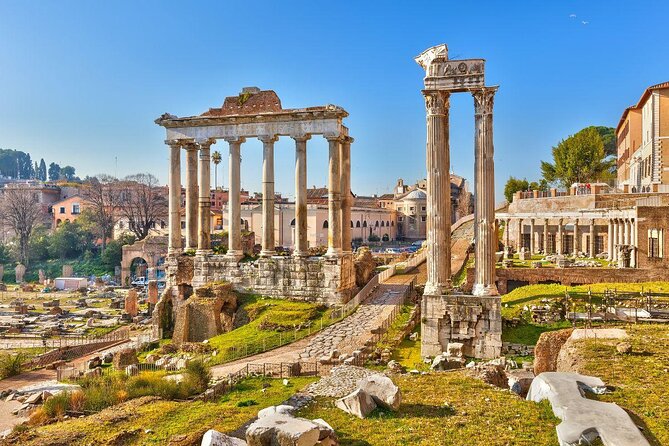
Next up is the Pantheon photo stop, then the Roman Forum. Each is about 30 minutes, and both are listed with free admission for these photo moments.
These two stops are valuable because they teach you different ways to “read” architecture with your camera. The Pantheon rewards symmetry and clean lines, which means small framing adjustments matter a lot. The Forum area often rewards depth and context, since you are trying to show layers of space and history without letting details turn into visual noise.
Here is the practical learning angle I like: you can treat each location like a mini-assignment. For example, you can set a simple rule such as shooting only straight lines for one round, then switching to a different technique for your second round. That approach makes your photos look intentional instead of accidental.
Also, pass-by photo time forces you to move efficiently. You learn how to spot a viewpoint quickly, check your framing fast, and then shoot consistently before the light changes again.
Trevi Fountain and Piazza Navona: classic scenes with better angles
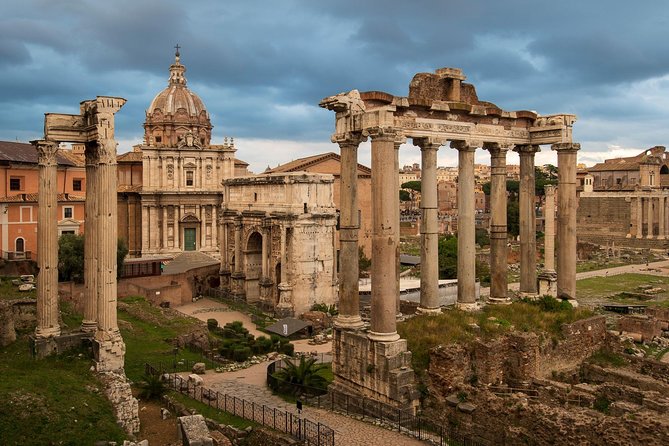
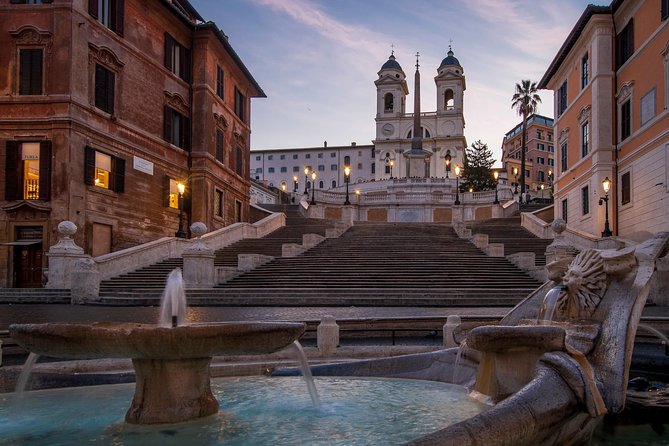
Then you hit Trevi Fountain for about 30 minutes, followed by Piazza Navona for about 30 minutes. Both are pass-by photo stops, also marked as free admission for the activity.
Trevi is one of those places where the scenery is obvious, but the best photos are not always. The key is where you position yourself and what your background includes. A guide who knows the city can help you find angles that feel more like a photograph and less like a postcard.
Piazza Navona brings a different challenge. You are dealing with open space, strong geometry, and lots of movement. That is where composition coaching can help you get a crisp architectural shot while still catching the human energy that makes the square feel alive.
If you are shooting at night, these stops can be especially rewarding because you will be working with artificial light and reflective surfaces. If you are shooting in daylight, you get the opposite challenge: contrast and bright highlights on stone can be tricky, so getting exposure right quickly becomes part of the lesson.
Other photographers working the Roman light:
Castel Sant’Angelo at the end: finishing strong with a new perspective
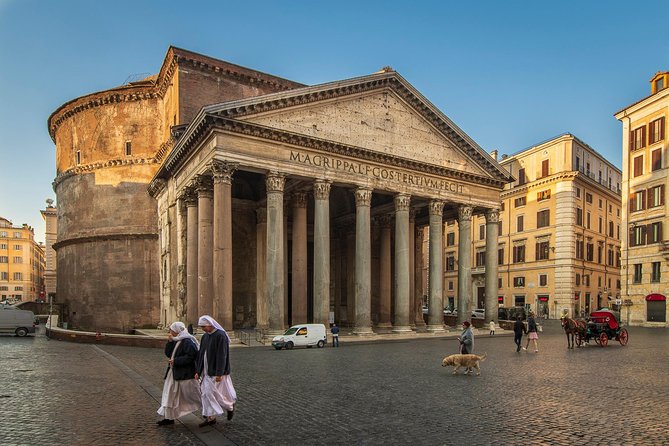
The last listed photo stop is Castel Sant’Angelo. It is about 30 minutes, with free admission for the photo moment.
By the time you reach this point, you usually have two advantages. First, you have already practiced the skills the guide wants you to use. Second, you have a better sense of how your settings behave in Rome light.
This is a nice wrap-up stop because it often lets you shift from pure wide icon shots to more layered compositions, where you can include nearby elements to create depth. Even if you are tired, this is where the coaching can help you end with images that look like you planned them.
The real magic: photography coaching you can use on day one
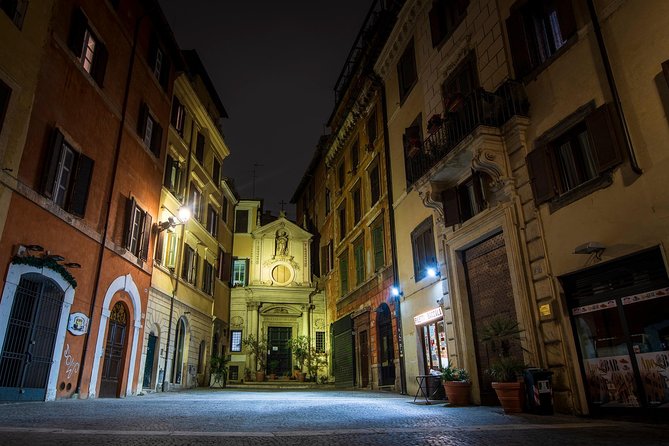
The heart of this experience is not the list of landmarks. It is the way the instruction shows up in your camera settings, your framing choices, and your ability to see patterns in streets and buildings.
Across multiple sessions, the teaching style described is patient and tailored. If you are a beginner, the guide takes time to understand that you might have zero experience, then works step by step so you can actually keep learning after the tour. If you already shoot, you still get value through targeted advice, like how to refine composition or think more intentionally about street photography.
One detail I really like from the way people describe their sessions: you do not just get advice, you also get help with practice. You shoot while you learn. That is how you get past theory and into muscle memory.
If your guide happens to be Emanuele, you can expect a calm, teaching-first approach, and you may get help with both technical settings and “how to look.” Several accounts mention secret-feeling viewpoints, including a special Trevi Fountain shot, which is the kind of payoff that makes the whole walk feel like more than a sightseeing checklist.
What to bring: camera, tripod requests, and how to stay flexible
You will want to bring your camera. A camera is explicitly not included, so plan to have it ready with charged batteries and enough storage.
A tripod is not automatically provided, but it can be available upon request. If you are planning to shoot at night, consider whether you typically need a tripod for long exposures or steadier results. If you do, request one ahead of time so you are not improvising in the middle of low light.
Transportation to and from attractions is not included, so think of this as a walking masterclass anchored at the meeting point. Wear shoes that handle Roman sidewalks, and bring water if you tend to run warm while walking.
If you want your photos to improve fast, keep one simple goal per stop. For example, choose one of these: symmetry, leading lines, depth, or light. Then spend your time shooting within that goal, instead of trying to do everything at once.
Pricing and value: is $181.02 per person reasonable?
At $181.02 per person for about 3 hours, the value depends on your expectations. If you want a basic sightseeing walk, it is pricey. If you want personalized photo coaching in Rome’s iconic settings, it is easier to justify.
The reason is the private format plus professional instruction. You are not paying just for access to scenery. You are paying for a guide to watch your technique and help you fix it while you are still there to use the advice.
Also, the “free admission” noted for the photo moments at the major stops lowers friction. You are not paying attraction entry fees inside the time box, which matters when your goal is photography practice rather than museum time.
One more practical clue: this is typically booked about 96 days in advance on average. That suggests demand is real, so if you have a firm photo plan, lock it in early.
Who should book this Rome photography masterclass
This is best for you if you want photos to improve quickly, not slowly. If you are a beginner, the lesson can give you confidence fast because it is structured around teaching fundamentals and applying them on real streets.
It also suits more experienced shooters who want a fresh way to look at familiar landmarks. Even if you know exposure basics, architecture and street scenes often need a different eye for composition, and a guide who knows where the light hits can help.
If you prefer museum hours or long entry times, you might feel disappointed. The timing is built around pass-by photo opportunities, so it is more of a “shooting session” than an “I toured everything” day.
Should you book this private Rome Photography Masterclass?
Yes, I would book it if your goal is to come home with stronger images and a better way to think about your camera. The private coaching, day or night choice, and the mix of Colosseum, Pantheon, Forum, Trevi, Piazza Navona, and Castel Sant’Angelo make this feel like a compact photo course in one walk.
I would only hesitate if you are expecting lots of inside-the-attraction time or you do not plan to bring a camera. Since tripod support is only on request and transportation is not included, you will get more out of it if you prepare for a walking, shooting-focused experience.
If you want Rome photos that look intentional, not random, this is a solid pick.
FAQ
How long is the Rome Photography Masterclass?
It is approximately 3 hours.
Is this experience private?
Yes. It is a private tour/activity, with only your group participating.
Do I need to bring my own camera?
Yes. A camera is not included.
Is there an admission ticket for the main photo stops?
The stop notes list admission ticket free for the Colosseum, Pantheon, Roman Forum, Trevi Fountain, Piazza Navona, and Castel Sant’Angelo photo moments.
Can I choose day or night?
Yes. You can pick between day or night tours depending on your interests.
Is a tripod provided?
A tripod is not included, but it is available upon request.
Where does the tour start and end?
It starts at Fontana del Colosseo, 00184 Roma RM, Italy, and ends back at the same meeting point.
What is the cancellation policy?
You can cancel up to 24 hours in advance for a full refund.
If you cancel less than 24 hours before the start time, the amount paid will not be refunded.
A Roman Bench for the Morning
- 3 in 1 Cooking Class near Navona: Fettuccine, Ravioli & Tiramisu
★ 5.0 · 7,376 reviews - Rome: Pasta & Tiramisu Class with Fine Wine by the Vatican
★ 4.9 · 4,852 reviews - Rome: Pasta Making Class with Wine, Limoncello, and Dessert
★ 4.9 · 3,177 reviews - Rome Cooking Class: Make Pasta and 3 Spritz Cocktails
★ 5.0 · 2,937 reviews
Latest additions from Rome
- Guided Tour Vatican Museums & Sistine Chapel★ 4.1 · 30 reviews
- Exclusive Rome by Night Vespa Tour★ 5.0 · 30 reviews
- Transfer Rome to Airports★ 4.5 · 30 reviews
- Vatican: St.Peter’s Basilica & Dome – Reserved Entry & Tour★ 4.1 · 30 reviews
- Rome street art tour: off the beaten path with a local guide★ 5.0 · 30 reviews
- Tivoli, Hadrians Villa and Villa d’Este, a charming day trip from Rome★ 4.5 · 30 reviews
- Rome Food Tasting with Wine Pairing Italian Authentic Flavors★ 5.0 · 31 reviews
- Inspirational Cooking on the Roman Chef’s Panoramic Terrace★ 5.0 · 30 reviews
Rome Photoshoot Sessions, compared.
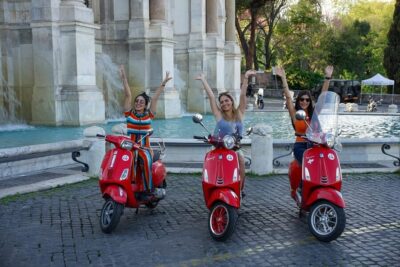
Explore the City by Vespa with an Optional Photoshoot
Read our review →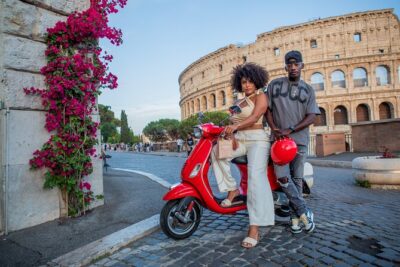
Rome Vespa Scooter Tour with Professional Photographer
Read our review →
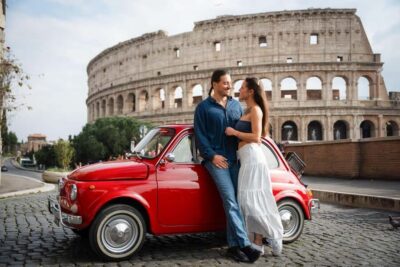
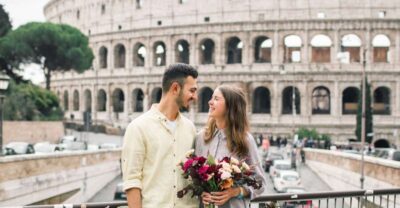
Pro Photoshoot include free transport with VESPA
Read our review →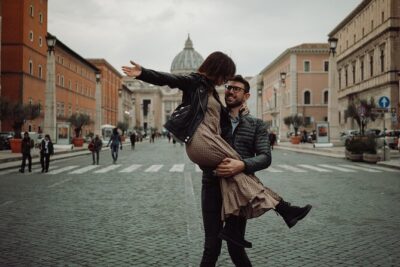
Browse the lists this tour appears in